Why Small Bathrooms Punish Poor Planning
A small bathroom has almost no margin for error. Fixtures that would look modest in a larger room can consume every navigable inch in a 40- or 50-square-foot space. Doors swing into toilets, drawers refuse to open fully, and a single bulky vanity can make the difference between a bathroom that works and one that frustrates everyone who uses it.
The good news is that the constraints are predictable. Most small bathrooms fail for the same reasons — oversized fixtures, wasted vertical space, and finishes that visually shrink what little room exists. Work methodically through those problems and you recover a surprising amount of function without necessarily touching a single load-bearing wall. If you are considering larger structural changes, see our guide to removing interior walls before proceeding.
The strategies below address the decisions that consistently make the biggest difference — starting with layout and fixtures, then moving through storage and finishes.
Right-size your fixtures before anything else
Standard toilets, vanities, and tubs are designed for average-sized bathrooms. In a small space, using standard dimensions almost always means sacrificing clearance you can't afford to lose. Compact toilets — those with a shorter floor-to-wall depth, sometimes called short-projection models — can reclaim four to six inches of floor space compared to standard units. That difference is enough to restore comfortable movement around the room.
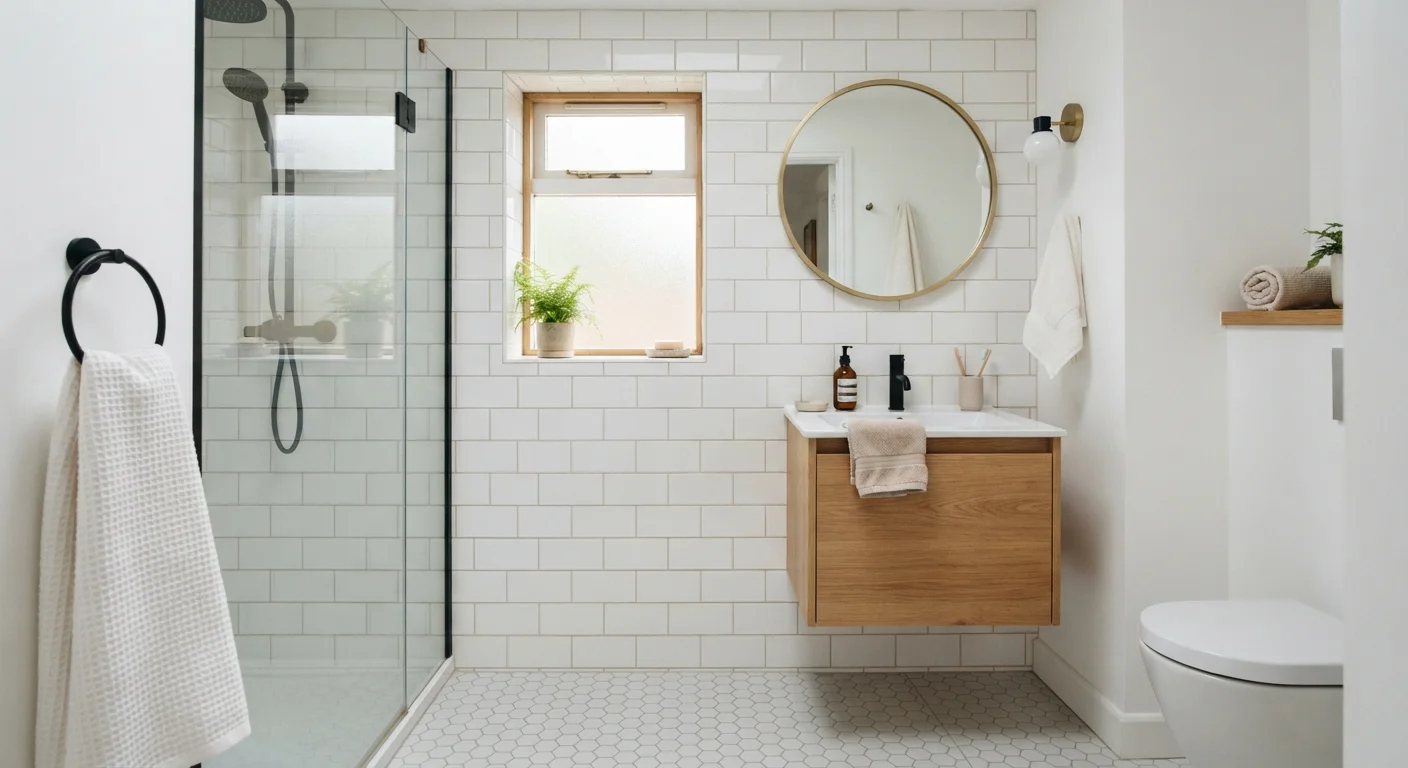
Vanities narrower than the typical 24-inch standard are widely available and still offer useful counter and storage space. Wall-hung vanities go further by eliminating the floor footprint entirely, which also makes cleaning easier and creates a visual break that makes the room read as larger.
Compact fixtures can reclaim several inches of clearance that transforms daily usability.
Respect the existing plumbing layout
Moving drain lines and supply runs in a bathroom is expensive and, in older homes, can reveal additional problems behind walls. Unless a layout change delivers a substantial functional improvement, designing around the existing plumbing positions is almost always the smarter call in a small bathroom renovation.
Work with a plumber early to understand exactly where your drain rough-in is located and what flexibility exists. Many layout improvements — switching to a pedestal sink, replacing a tub with a walk-in shower, reconfiguring the vanity — can be accomplished without relocating any major drain lines if planned carefully.
Moving drain lines is costly; design around existing rough-in positions wherever possible.
Go vertical with storage
Floor space is the scarcest resource in a small bathroom, but wall space is often underused. Tall, narrow cabinets mounted above the toilet or beside the vanity add meaningful storage without occupying any floor area. Recessed medicine cabinets — set into the wall cavity between studs — eliminate the depth that a surface-mounted cabinet projects into the room.
Recessed shower niches follow the same principle. A niche cut between studs at a practical height stores shampoo and soap without requiring a corner caddy that collects mildew and adds visual clutter. Both of these are tasks that typically require basic carpentry and, in the case of the niche, waterproofing — verify local permit requirements and use a qualified professional for any work that involves cutting into tiled or wet areas.
Wall-mounted and recessed storage adds capacity without consuming a single square foot of floor space.
Use door and entry configuration strategically
A standard swing door requires a clear arc of roughly 10 to 12 square feet to open fully — often the most expensive real estate in the room. Replacing it with a pocket door (which slides into the wall) or a barn-style door (which slides along the wall face) eliminates that swing clearance entirely. Pocket doors require wall cavity access and some framing work; barn doors are simpler to install but require unobstructed wall space beside the opening.
For bathrooms with very limited entry width, a narrower door — 28 inches rather than the standard 32 — can also help, provided it meets accessibility requirements applicable to your home type and any relevant building codes in your area.
Swapping a swing door for a pocket or barn door can free up the room's single largest area of wasted clearance.
Apply finishes that work with the space, not against it
Large-format tiles — 12-by-24 inches or bigger — have fewer grout lines and create a sense of continuity that makes floors and walls read as larger. Running floor tile in a diagonal orientation can have a similar effect. Both approaches are most effective when the tile color is relatively close to the wall color, reducing the visual fragmentation that comes from high contrast between surfaces.
Mirrors amplify light and depth. A full-width mirror above the vanity, or a large frameless mirror, contributes more than a small decorative one. Matte or satin finishes on hardware and fixtures tend to photograph and feel less clinical than high-gloss chrome in small rooms, though personal preference is the deciding factor here.
Large-format tiles with minimal grout contrast reduce visual fragmentation and make small rooms read as more spacious.
Prioritize ventilation before it becomes a moisture problem
Small bathrooms concentrate humidity quickly. Without adequate ventilation, that moisture accelerates mold growth, paint failure, and grout deterioration — problems that are expensive to remediate and compound faster in compact spaces. An exhaust fan sized appropriately for the room's cubic footage (measured in cubic feet per minute, or CFM) and vented directly to the exterior — not into an attic — is a functional necessity, not an upgrade.
The Home Ventilation Institute and similar industry bodies publish basic sizing guidelines. As a rough reference, most small bathrooms need at least 50 CFM of exhaust capacity, but the correct figure depends on your specific room dimensions and ceiling height. Consult a licensed electrician for any new fan installation, since bathroom electrical work typically requires a permit and specific circuit protection under most local codes.
Undersized or improperly vented exhaust fans are one of the most common sources of long-term moisture damage in small bathrooms.
Putting It Together Without Starting Over
None of these strategies requires a full gut renovation, though several are easiest to implement during one. If you are planning a more comprehensive project, our end-to-end renovation guide covers sequencing, plumbing considerations, and common pitfalls in detail.
Start with a measured floor plan
Before purchasing any fixture, draw your bathroom to scale on graph paper or use a free online floor plan tool. Include door swings, existing plumbing locations, and any obstacles like radiators or windows. A scaled plan makes it immediately clear which configurations are feasible and which will create clearance problems — saving you the cost of returning fixtures that simply don't fit the space.
The most durable improvements in small bathrooms combine layout discipline with material choices that hold up to daily humidity. Focus first on the changes that affect how the room functions — fixture scale, door clearance, storage placement — and treat finishes as the final layer. A well-laid-out bathroom with basic tile will serve you better than a poorly planned one with expensive stone.
For more general upkeep guidance that applies across the home, the Home Maintenance hub covers preventive care that keeps small spaces from developing bigger problems over time.