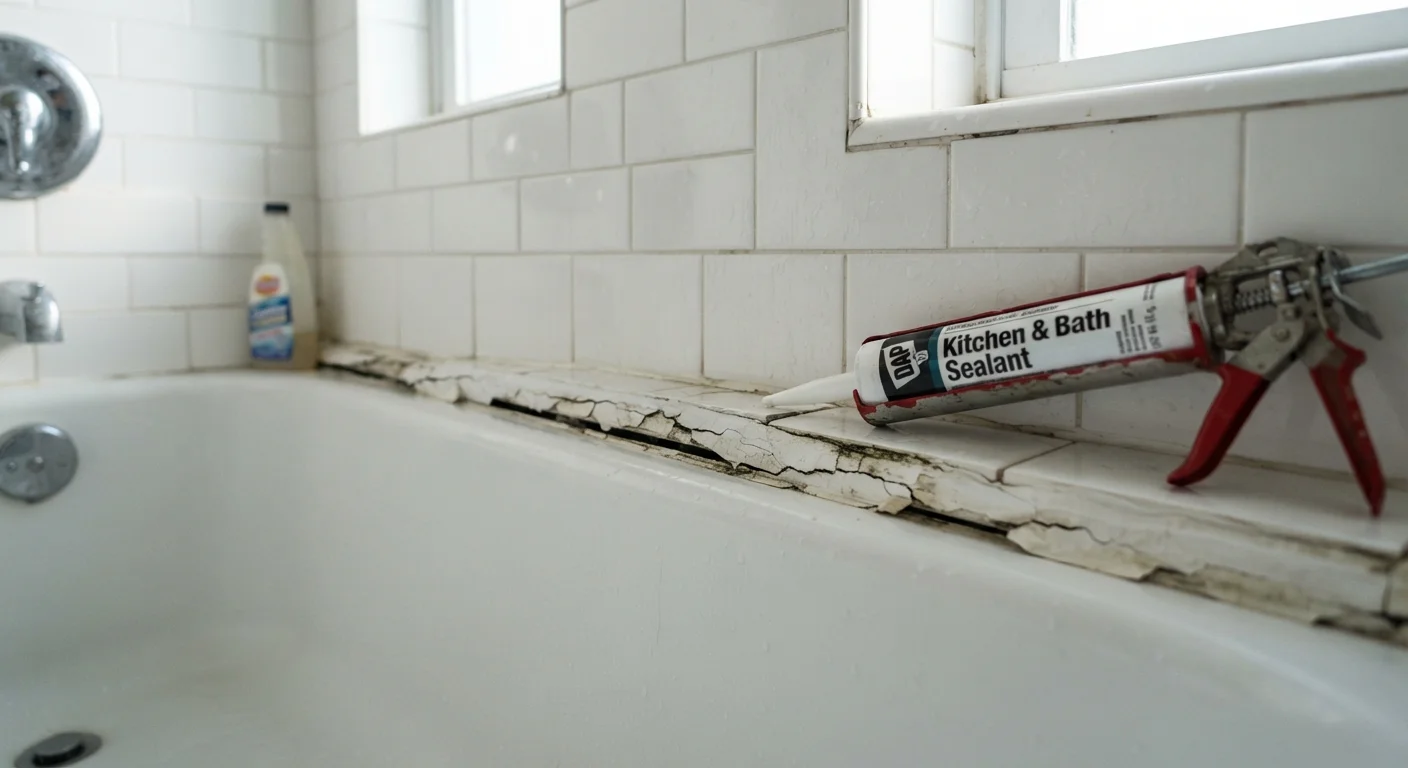
Why Caulk Doesn't Last as Long as It Should
Caulk is one of the most underestimated materials in home maintenance. Applied correctly, it creates a flexible, waterproof seal that protects joints and gaps from moisture intrusion and air leakage. Applied incorrectly — which happens more often than not — it peels, cracks, or molds within months.
The good news: caulk failure is almost never mysterious. It traces back to a handful of repeatable mistakes, each with a clear fix. Understanding them turns a frustrating redo into a durable, lasting seal. Before diving into mistakes, it helps to know that caulk, grout, and sealant are not interchangeable — see our guide to grout, caulk, and sealant to make sure you're reaching for the right product from the start.
Applying new caulk directly over old caulk without removing it first.
Why it happens: Removing old caulk is tedious, so many people simply layer fresh caulk on top, assuming it will bond and hold.
Using the wrong type of caulk for the location or material.
Why it happens: Caulk tubes look similar on store shelves, and labels aren't always read carefully. A general-purpose product gets used in a high-moisture or exterior setting where it won't perform.
Skipping surface cleaning and drying before application.
Why it happens: It's easy to underestimate how much soap scum, dust, or moisture lingers on a surface, especially in a bathroom or kitchen that's been in use.
Leaving the caulk bead rough and raised instead of tooling it smooth.
Why it happens: Many people assume that once the bead is laid, the job is done. Tooling the joint feels like an optional finishing step rather than a functional one.
Exposing freshly applied caulk to water before it has fully cured.
Why it happens: Homeowners often recaulk a shower or tub in the evening and use it the following morning, not realizing that surface dryness is not the same as full cure.
Getting the Application Right the Second Time
Once you understand why caulk fails, fixing it becomes straightforward. Start by cutting out every trace of the old material with a caulk removal tool or utility knife, then clean the joint with isopropyl alcohol and let it dry completely — at least an hour, longer in humid conditions.
Don't Rush the Drying Stage
One of the most common reasons a second caulk application fails just as quickly as the first is residual moisture in the joint. Even if the surface looks dry to the eye, grout lines and porous tile edges can hold moisture for hours. In humid climates or poorly ventilated bathrooms, extend your drying window beyond the minimum and consider running a fan or dehumidifier before you begin.
Load your caulk gun and cut the tube nozzle at a 45-degree angle to match the joint width. Hold the gun at a consistent angle and apply steady, even pressure as you move in one continuous pass. Immediately after laying the bead, wet your fingertip or a caulk-smoothing tool and draw it along the joint in a single stroke to press the caulk into the gap and create a concave surface. Wipe excess away with a damp cloth before it skins over.
Give the caulk its full cure time — check the product label, as this ranges from 24 hours to several days depending on formulation and humidity. Silicone caulk in particular needs adequate airflow to cure properly. Resist the urge to test the seal with water early; it's one of the most common reasons a second application fails just like the first.
3–5 years
Typical lifespan of correctly applied bathroom caulk
Industry guidance from building maintenance professionals suggests properly applied, high-quality silicone caulk in wet areas should last three to five years under normal use before reapplication is needed.
~1 hour
Minimum drying time before surface contact after cleaning
Home maintenance guidelines consistently recommend allowing cleaned joint surfaces at least one hour to dry fully before caulk application to ensure proper adhesion.