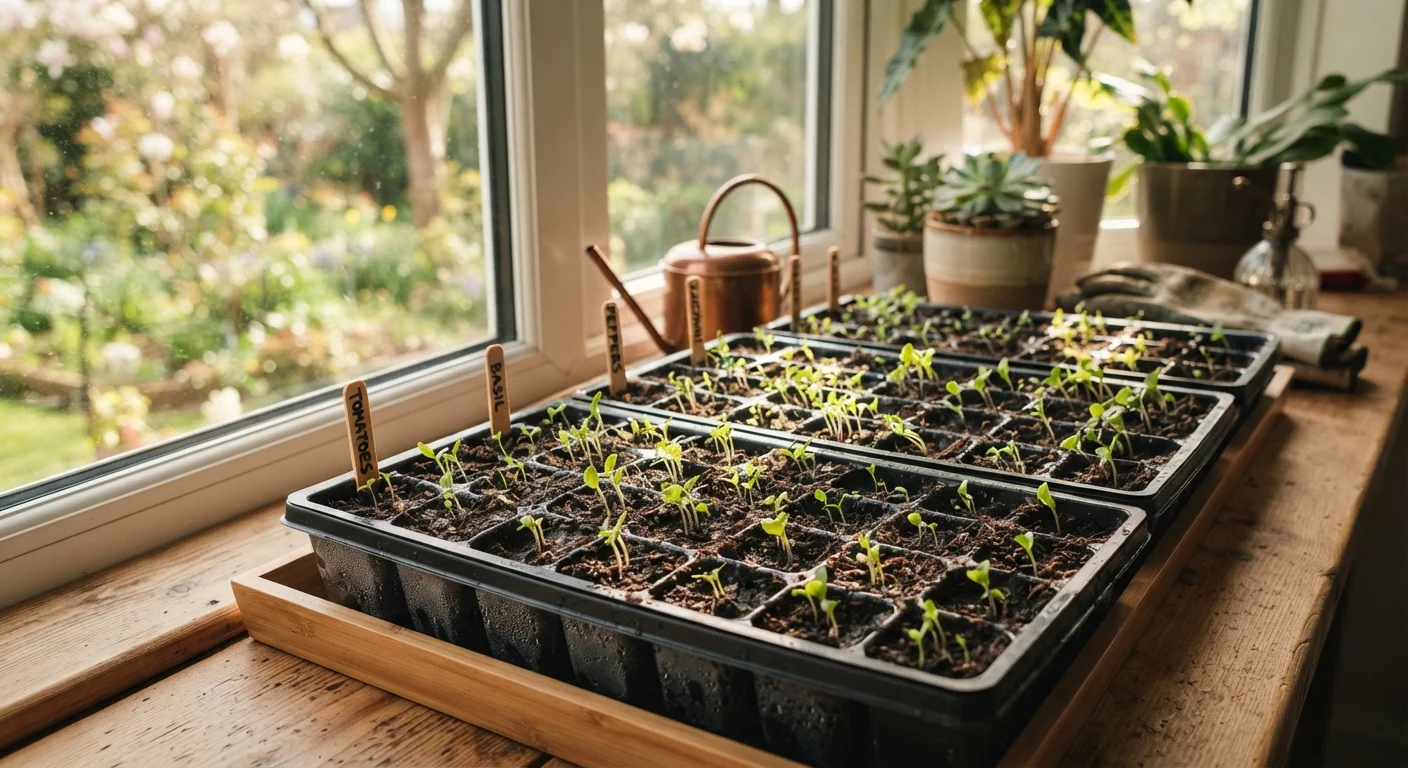
Why timing and setup matter more than most gardeners realize
Indoor seed starting is fundamentally about giving plants extra growing time before conditions outside are safe. But the window is narrower than it looks. Start too soon and you'll have oversized, root-bound plants waiting impatiently in small cells. Start too late and you've gained little over direct sowing. Getting this right requires knowing your frost date and understanding how your specific location behaves — factors covered in depth in our guide on hardiness zones and microclimates.
Your setup matters just as much as your calendar. The two most common failure points are wrong growing medium and inadequate light. Seed-starting mix is not the same as potting mix — it's finer, sterile, and low in nutrients by design, because seeds carry their own food supply for early germination. Once true leaves appear, that built-in fuel runs out and feeding begins. Light intensity separates compact, sturdy transplants from the tall, floppy ones that struggle after planting.
What you will need
Once you have the basics in place, the process is straightforward. Here's what you'll need before you start:
Seed-starting trays with cell inserts
Holds individual seeds in separate compartments, making it easy to transplant seedlings without disturbing roots.
Seed-starting mix
A fine, sterile, low-nutrient medium that promotes germination without the compaction or pathogens found in garden soil.
Humidity dome or plastic wrap
Retains moisture around seeds during germination so the surface doesn't dry out between waterings.
Grow light (full-spectrum LED or fluorescent)
Provides consistent, close-range light to prevent leggy seedlings when natural window light is insufficient.
Plant labels and waterproof marker
Keeps track of which variety is in which cell — easy to skip, costly to forget once seedlings look similar.
Spray bottle or gentle watering can
Waters seedlings without displacing fragile soil or knocking over tiny sprouts.
The hardening-off phase: where most beginners lose their plants
Hardening off is the gradual acclimatization of indoor-grown seedlings to outdoor conditions — sun intensity, wind, temperature swings, and humidity levels that are dramatically different from your kitchen or basement. Plants that skip this step are essentially experiencing shock: cuticles (the waxy coating on leaves) have developed for sheltered conditions, and stomata (the tiny pores that regulate water loss) have never had to contend with real wind or direct UV exposure.
Cloudy Days Are Still Useful
Don't cancel hardening-off sessions just because it's overcast. Diffused outdoor light is still more intense than indoor conditions, and mild breeze on a cloudy day is ideal for building wind tolerance. Reserve bright, sunny days for later in the process when plants have already adjusted to some outdoor exposure.
The process takes 7–14 days and requires daily attention, but it asks little from you besides consistency. Move the trays back indoors if weather turns harsh. Progress can always be paused — it cannot be rushed. Once hardened off, your transplants are ready for the garden. If you're working with containers on a balcony or patio rather than a traditional bed, see our guide on container gardening for patios and balconies for the next steps.
After transplanting, spacing becomes the next critical decision. Seedlings grown indoors often arrive in quantity, and the temptation to plant everything is real — but crowding undermines the investment you've made. Our article on why new gardeners overplant and how to space correctly explains how to read spacing requirements accurately so your transplants have room to thrive.
Calculate your sowing date
Find the average last frost date for your area — your local cooperative extension office or a reputable gardening calendar can help. Then read the seed packet: most list how many weeks before the last frost date to start seeds indoors (commonly 6–10 weeks). Count backward on a calendar and mark your sowing window. Starting too early produces oversized, stressed transplants; starting too late wastes the advantage of indoor growing entirely.
Fill trays with seed-starting mix
Pour dry seed-starting mix into a bucket, add warm water, and blend until the medium is evenly moist but not waterlogged — it should hold its shape when squeezed without dripping. Fill each cell to just below the rim and gently firm it down. Avoid regular potting mix or garden soil: both are too dense and may harbor pathogens that cause damping off, a fungal condition that kills seedlings at the soil line.
Sow seeds at the correct depth
The seed packet will specify depth — typically two to three times the seed's diameter. Make a small indentation with a pencil tip or your finger, drop in one or two seeds per cell, and cover lightly. Very fine seeds (like lettuce or snapdragons) can be pressed onto the surface without covering. Label every row immediately. Place the tray in a warm location; most vegetable seeds germinate best between 65°F and 75°F.
Provide adequate light once sprouts emerge
As soon as the first sprouts appear, remove any humidity dome and move trays directly under a grow light or as close to a bright window as possible. Seedlings need 14–16 hours of strong light daily. A south-facing window in winter often provides too little intensity, making grow lights the more reliable choice. Keep lights 2–4 inches above the tops of the seedlings and raise the fixture as plants grow.
Water and feed consistently
Water when the top of the mix feels dry, using a gentle stream or bottom-watering method (set the tray in a shallow dish of water and let it absorb from below). Once seedlings develop their first true leaves — the second set to appear — begin feeding with a diluted, balanced liquid fertilizer at half the recommended strength, roughly once a week. Over-fertilizing at this stage causes rapid, weak growth.
Begin the hardening-off process
About one to two weeks before transplanting, start gradually introducing seedlings to outdoor conditions. Begin with one hour of sheltered outdoor exposure on a mild, calm day — avoiding direct midday sun and wind. Add 30–60 minutes each subsequent day. By the end of the week, they should tolerate a full morning of direct sun. By day 10–14, they can handle most of the day outdoors and are ready to plant. Skip this step and even robust seedlings can collapse from sun scorch, wind stress, or temperature shock.