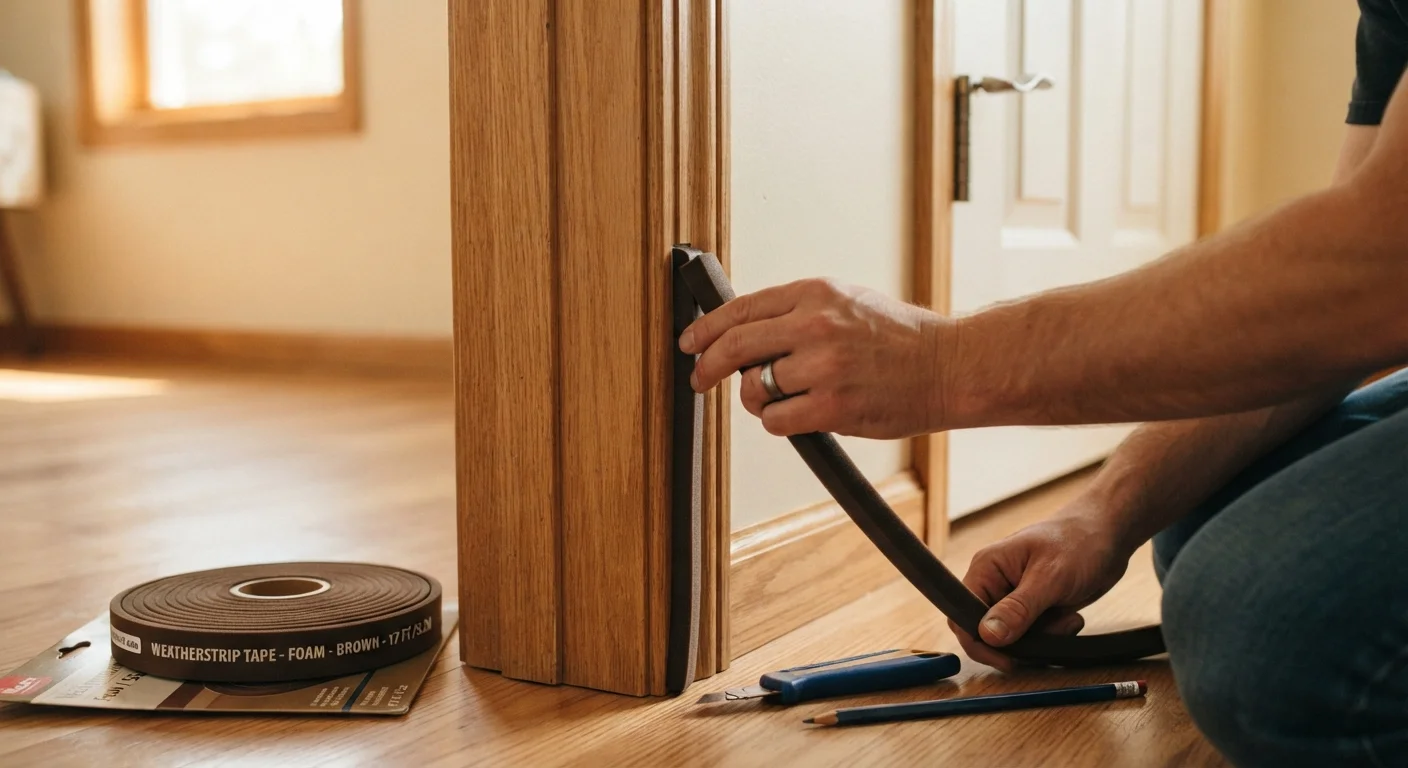
Understanding Weatherstripping Types
Choosing the right material for each location is the most important decision in this project. Using the wrong type leads to poor seals, premature wear, or doors that won't close properly.
- Foam tape (open- or closed-cell): Inexpensive and easy to apply on compression surfaces — the top and bottom rails of windows, or the door stop (the ridge the door presses against when closed). Closed-cell foam lasts longer and resists moisture better.
- V-strip (tension seal): A folded strip of plastic or metal that springs open to fill the gap between a door and its jamb on the hinge and latch sides. It's durable, nearly invisible once installed, and handles varying gap sizes well.
- Door sweeps: Attached to the bottom of exterior doors, these block the gap between the door bottom and the threshold. Automatic sweeps lift when the door opens and drop when it closes, reducing floor friction.
- Felt or reinforced felt: Inexpensive and easy to work with, but less durable in high-moisture or high-traffic areas. Best used on interior doors or low-traffic windows.
For a broader picture of how weatherstripping fits into your home's overall envelope, see our guide to energy efficiency upgrades that work together.
Test for Drafts Before You Shop
On a windy day, hold a lit incense stick or a thin strip of tissue near door and window edges. Flickering indicates air infiltration. This simple test helps you pinpoint exactly which areas need attention before you buy materials, so you don't over- or under-purchase.
What You'll Need
Gather the following tools and materials before you begin. Having everything on hand prevents mid-project interruptions.
Tape measure
Measure door and window perimeters accurately to buy the right amount of weatherstripping.
Utility knife or scissors
Cut weatherstripping material to precise lengths.
Screwdriver
Install door sweeps or reinforced metal V-strip that requires screws.
Rubbing alcohol and clean cloth
Clean door and window frame surfaces so adhesive weatherstripping bonds correctly.
Putty knife or pry tool
Remove old, compressed weatherstripping without damaging the frame.
Hammer and finishing nails
Secure V-strip or felt weatherstripping where adhesive alone isn't reliable.
What you will need
Measure the full perimeter of each door or window you plan to seal before purchasing materials. Add 10% extra for mistakes or trimming adjustments.
Step-by-Step Installation
Follow these steps for exterior doors — the highest-priority targets in most homes. The same general process applies to casement and double-hung windows, adjusting the material type as needed.
Remove old weatherstripping
Use a putty knife or pry tool to lift and peel away existing weatherstripping. Work slowly to avoid gouging the frame. For adhesive-backed material, use rubbing alcohol on a cloth to dissolve sticky residue. Allow the surface to dry completely before moving on.
Clean and inspect the frame
Wipe down the entire door stop, jamb sides, and threshold area with rubbing alcohol. Check for rot, cracks, or significant gaps wider than roughly ¼ inch — these may need caulk or wood filler before weatherstripping will seal properly.
Measure and cut the weatherstripping
Measure each side of the door frame individually — top, hinge side, and latch side. Cut foam tape or V-strip to length with scissors or a utility knife. For the top (header), cut to the exact width. For the sides, cut to fit from the top piece down to the threshold.
Install V-strip on the door sides
For the hinge-side and latch-side jambs, press V-strip into the channel between the door and the jamb with the open end of the V facing the outside. Peel the adhesive backing gradually as you press it in place from top to bottom. For nail-in versions, use finishing nails every 2–3 inches.
Apply foam tape to the door stop
Peel and press closed-cell foam tape along the door stop — the raised ridge that the door face contacts when closed. Press firmly and evenly the entire length. Close the door slowly to check that it latches without extra force before the adhesive fully cures.
Install a door sweep on the bottom
Hold the door sweep against the interior face of the door bottom so the flexible flap just contacts the threshold when the door is closed. Mark the screw positions, pre-drill if needed, and fasten with the provided screws. Open and close the door several times to confirm smooth operation.
Check for Rot or Damage Before Installing
Weatherstripping can't fix a structurally damaged frame. Before applying any new material, press firmly along the door jamb or window sill to check for soft, spongy wood — a sign of rot. Damaged frames need repair or replacement first; installing weatherstripping over compromised surfaces will produce a poor seal and won't last. If you spot significant rot or warping, consult a contractor before proceeding.
Don't Over-Compress Foam Tape
Foam tape that is squeezed too tightly when the door or window closes will wear out far faster than it should. The door should close fully and latch without requiring extra force — if it feels stiff or the latch doesn't engage easily, remove a layer of tape or switch to a thinner profile.
If your home has persistent cold spots, high utility bills, or visible gaps around older window frames, weatherstripping is often just the beginning. Our article on insulation options for existing homes covers complementary upgrades worth considering.
Maintaining What You've Installed
Weatherstripping doesn't last forever. Foam tape typically holds up for one to five years depending on traffic and compression; metal V-strip and door sweeps can last a decade or more with basic care.
Inspect every exterior door and operable window at least once a year — ideally before winter. Look for visible tears, flattened foam, missing sections, or gaps where the material has pulled away from the frame. A quick visual check takes minutes and can catch problems before drafts return.
If you notice peeling paint, staining around frames, or other early warning signs around door and window openings, those issues deserve attention alongside weatherstripping. Our guide to reading your home's warning signs can help you interpret what you're seeing.