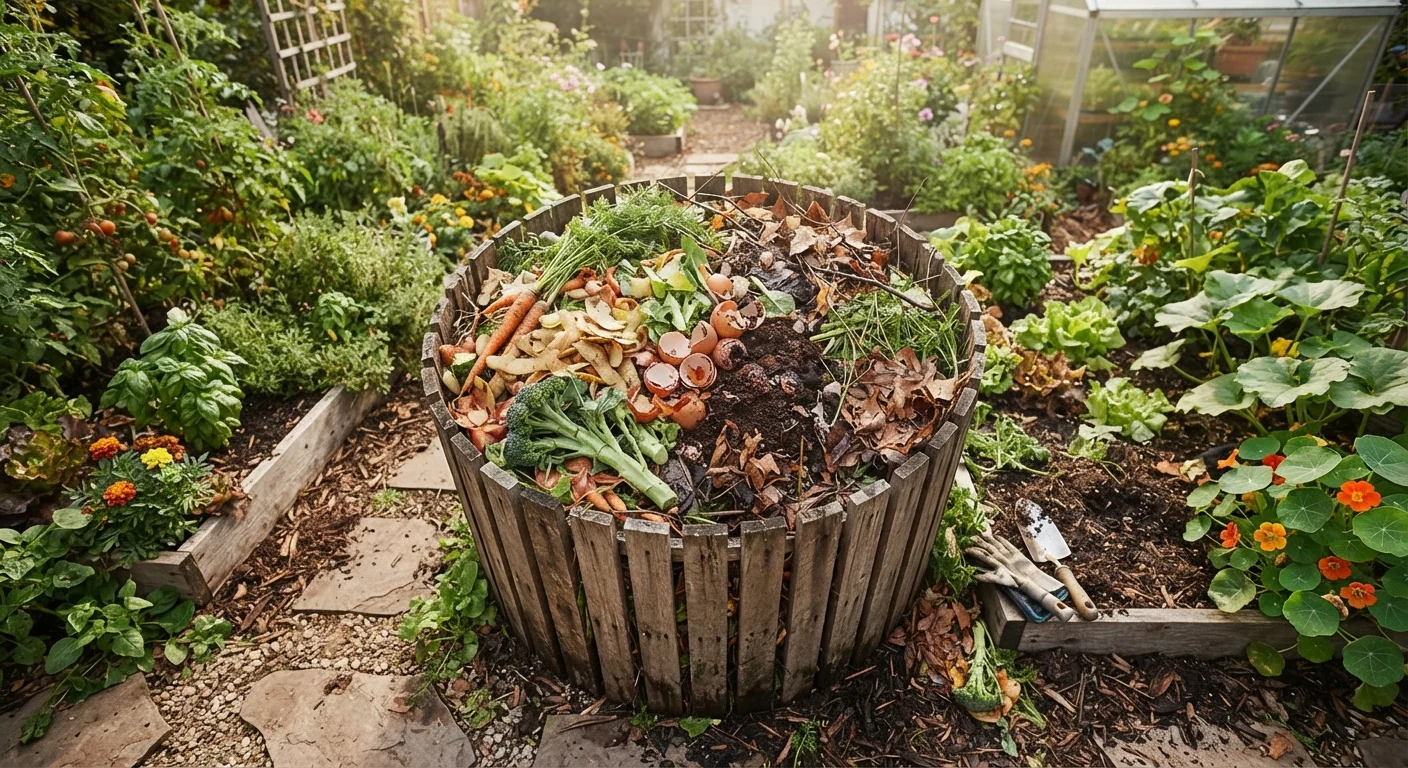
Why Composting Pays Off in the Garden
Compost is decomposed organic matter — and it does several things that synthetic amendments cannot. It improves soil structure in both sandy and clay-heavy soils, supports the beneficial microbial communities plants depend on, and gradually releases nutrients as plants need them. If you're starting a vegetable garden from scratch, incorporating homemade compost into your beds is one of the highest-impact first steps you can take.
Beyond the garden benefit, composting diverts food scraps and yard waste from landfills, where organic material decomposes anaerobically and releases methane. Home composting sidesteps that process entirely.
The biology is straightforward: bacteria, fungi, and other decomposers break down organic material when they have access to carbon, nitrogen, oxygen, and moisture. Your job is to stack the conditions so those organisms thrive.
Start Small and Build the Habit
You don't need a full system in place before you start collecting scraps. A simple bowl on the counter for a week will tell you how much material your household generates — and help you size your outdoor setup appropriately. Most families produce enough kitchen scraps to keep a single bin active year-round.
What Goes In — and What Stays Out
Successful composting starts with knowing your ingredients. Compost inputs fall into two broad categories:
- Greens (nitrogen-rich): Fruit and vegetable scraps, coffee grounds and paper filters, tea bags (remove staples), fresh grass clippings, and plant trimmings.
- Browns (carbon-rich): Dry leaves, cardboard torn into small pieces, newspaper, straw, wood chips, paper bags, and paper towel rolls.
A healthy pile needs roughly two to three parts browns for every one part greens by volume. Too many greens and the pile turns slimy and smells like ammonia; too many browns and it dries out and stalls.
Keep Meat, Dairy, and Oils Out
Meat scraps, fish, dairy products, and greasy or oily foods can attract rodents and other pests to a standard open pile and create persistent odors as they decompose. These materials require higher-temperature or enclosed systems (such as a bokashi fermenter) to process safely. Stick to plant-based inputs for a standard backyard pile.
Also keep out: diseased plants, anything treated with persistent pesticides or herbicides, and invasive weeds that have gone to seed — those seeds can survive composting and sprout in your garden beds later.
Shredding or chopping scraps into smaller pieces dramatically speeds breakdown by giving microbes more surface area to work on.
Setting Up Your Composting System
You don't need specialized equipment to compost. Options range from a simple open pile to a purchased tumbler bin. For most backyards, a three-sided enclosure made from wooden pallets or a single-chamber wire bin works well and costs little to build.
What you will need
Choose a spot that's convenient enough that you'll actually use it — within easy reach of the kitchen door is ideal. Partial shade helps the pile retain moisture in hot climates, but full sun is fine if you're prepared to water it occasionally.
Pile size matters: a minimum of about three feet by three feet by three feet gives the microbial community enough mass to generate the internal heat that speeds decomposition and kills weed seeds. Smaller piles still work, just more slowly.
If you garden in containers or a small patio space, a compact tumbler or a worm bin (vermicomposting) might fit your situation better. Our container gardening guide covers how to fold small-batch compost and potting mix into a tight-space setup.
How to Build and Manage the Pile
Follow the steps below to get your compost pile active and on track. Once the process is running, ongoing management is minimal — typically a few minutes per week.
Lay a base layer of browns
Start with four to six inches of coarse, carbon-rich material — wood chips, straw, or dry leaves work well. This base promotes airflow from the bottom and prevents the pile from sitting in pooled moisture.
Add a layer of greens
Add two to three inches of nitrogen-rich material: vegetable peels, coffee grounds, grass clippings, or fresh plant trimmings. Distribute evenly rather than dumping in one spot.
Cover greens with another browns layer
Top each green layer with a thicker browns layer — aim for roughly a two-to-one ratio of browns to greens. This carbon cover suppresses odors and balances moisture.
Check and adjust moisture
Squeeze a handful of material from the middle of the pile. It should feel like a wrung-out sponge — damp but not dripping. If it's dry, water it lightly. If it's dripping wet, add more browns and turn the pile.
Turn the pile regularly
Use a garden fork or compost turning tool to move material from the outer edges into the center every one to two weeks. This reintroduces oxygen, which is essential for aerobic decomposition, and redistributes heat throughout the pile.
Harvest finished compost
Finished compost is dark, crumbly, earthy-smelling, and shows no recognizable scraps. Stop adding new material to one pile or section and let it cure for two to four weeks before using it. Screen it through half-inch hardware cloth if you want a fine-textured product.
When finished compost is ready, spread a two- to three-inch layer over vegetable beds, work it lightly into the top few inches of soil, or use it as a mulch around perennials. Paired with the strategies in our fall garden prep checklist, applying compost in autumn gives it time to integrate before spring planting.
Troubleshooting Common Problems
Even well-intentioned piles run into issues. Here's how to read the signs and correct course:
- Pile smells like rotten eggs
- Anaerobic conditions — the pile is too wet or compacted. Turn it thoroughly and add dry browns to absorb excess moisture.
- Pile smells like ammonia
- Too many greens relative to browns. Fold in a generous layer of dry leaves or cardboard.
- Nothing seems to be happening
- The pile is likely too dry or too small. Water it until it feels like a wrung-out sponge and add more material to increase mass.
- Pests are getting in
- Avoid adding meat, dairy, or cooked food. Bury fresh scraps in the center of the pile rather than leaving them on top. A bin with a secure lid or hardware cloth bottom adds protection.
Composting pairs naturally with other sustainable garden practices. If you're managing pests without chemicals, healthy compost-amended soil supports the plant vigor that keeps many pest problems in check — see our natural pest control guide for more strategies.
Diseased Plants Require Special Handling
Do not add plants showing signs of fungal disease, bacterial wilt, or other infections to a standard home compost pile. Unless your pile consistently reaches temperatures above 130°F in its core — which most home piles do not — pathogens may survive and spread when you apply finished compost. Bag diseased material and dispose of it with yard waste pickup instead.